Hawa Concepta III –
Hardware system for wooden pivot/slide-in doors
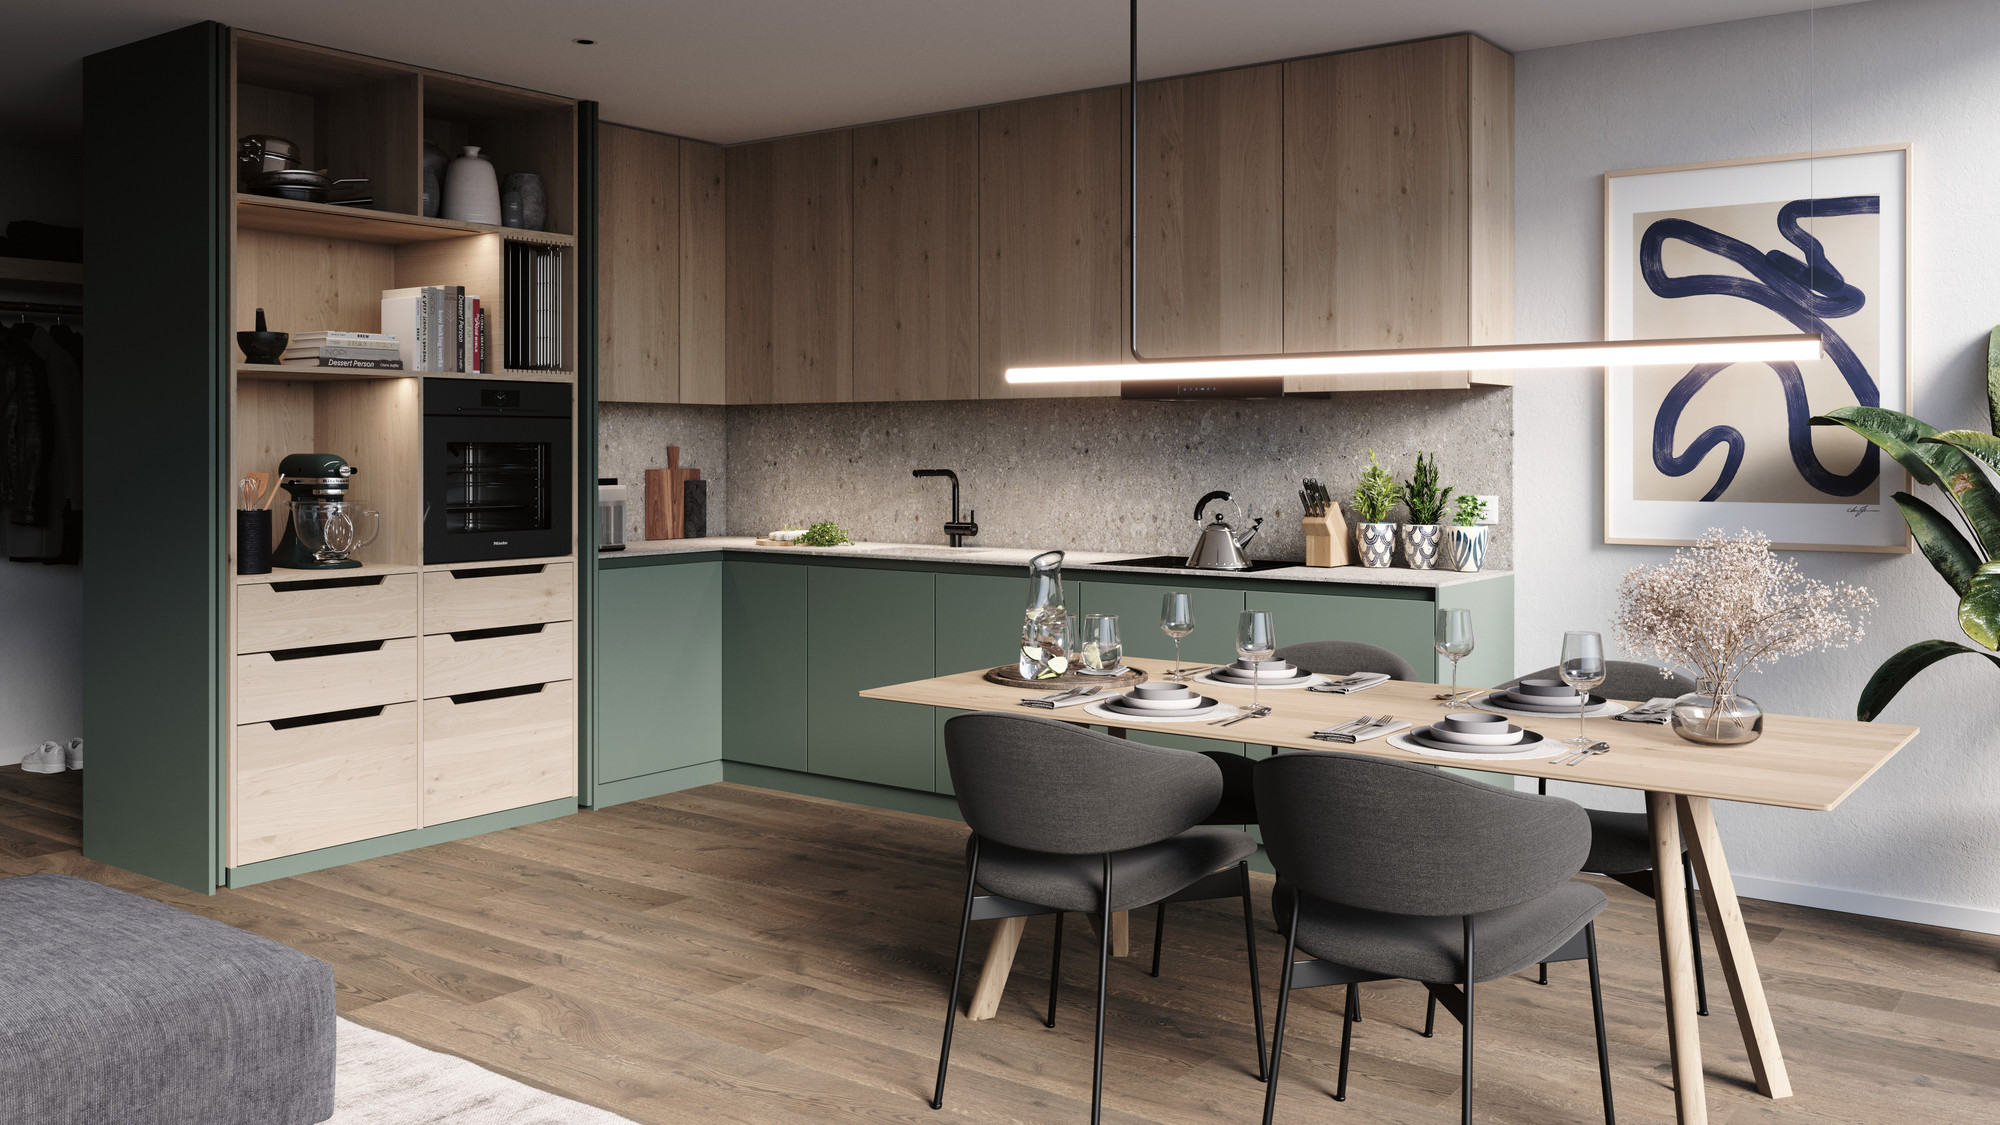
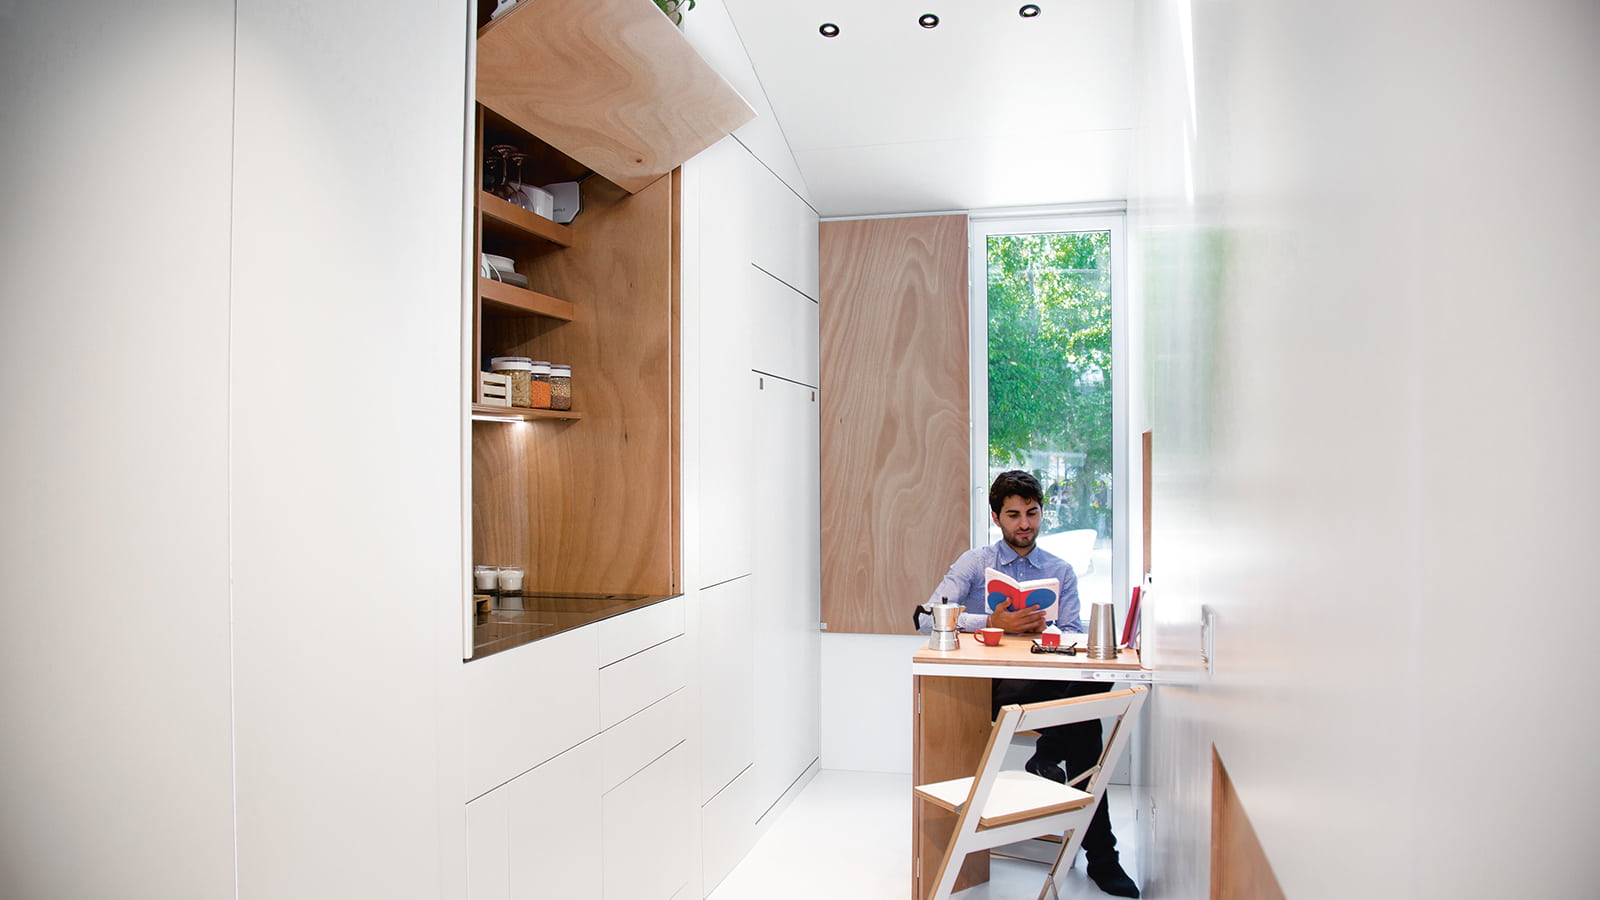
Doors can be turned by 90° and slid into furniture cabinets or wall niches at the side with Hawa Concepta III.
This allows the kitchen work surfaces, laundry towers, home offices or wardrobes behind them to be used
without obstructions. With a gently tap, the doors can be brought out again and closed to form a flush surface.
Making cabinet contents disappear within seconds requires a minimal amount of force with
the Hawa Concepta III technology.
The forward-looking, patented system is the guarantee of even, extremely smooth movement with its
sophisticated movement support.
Customized for every room concept
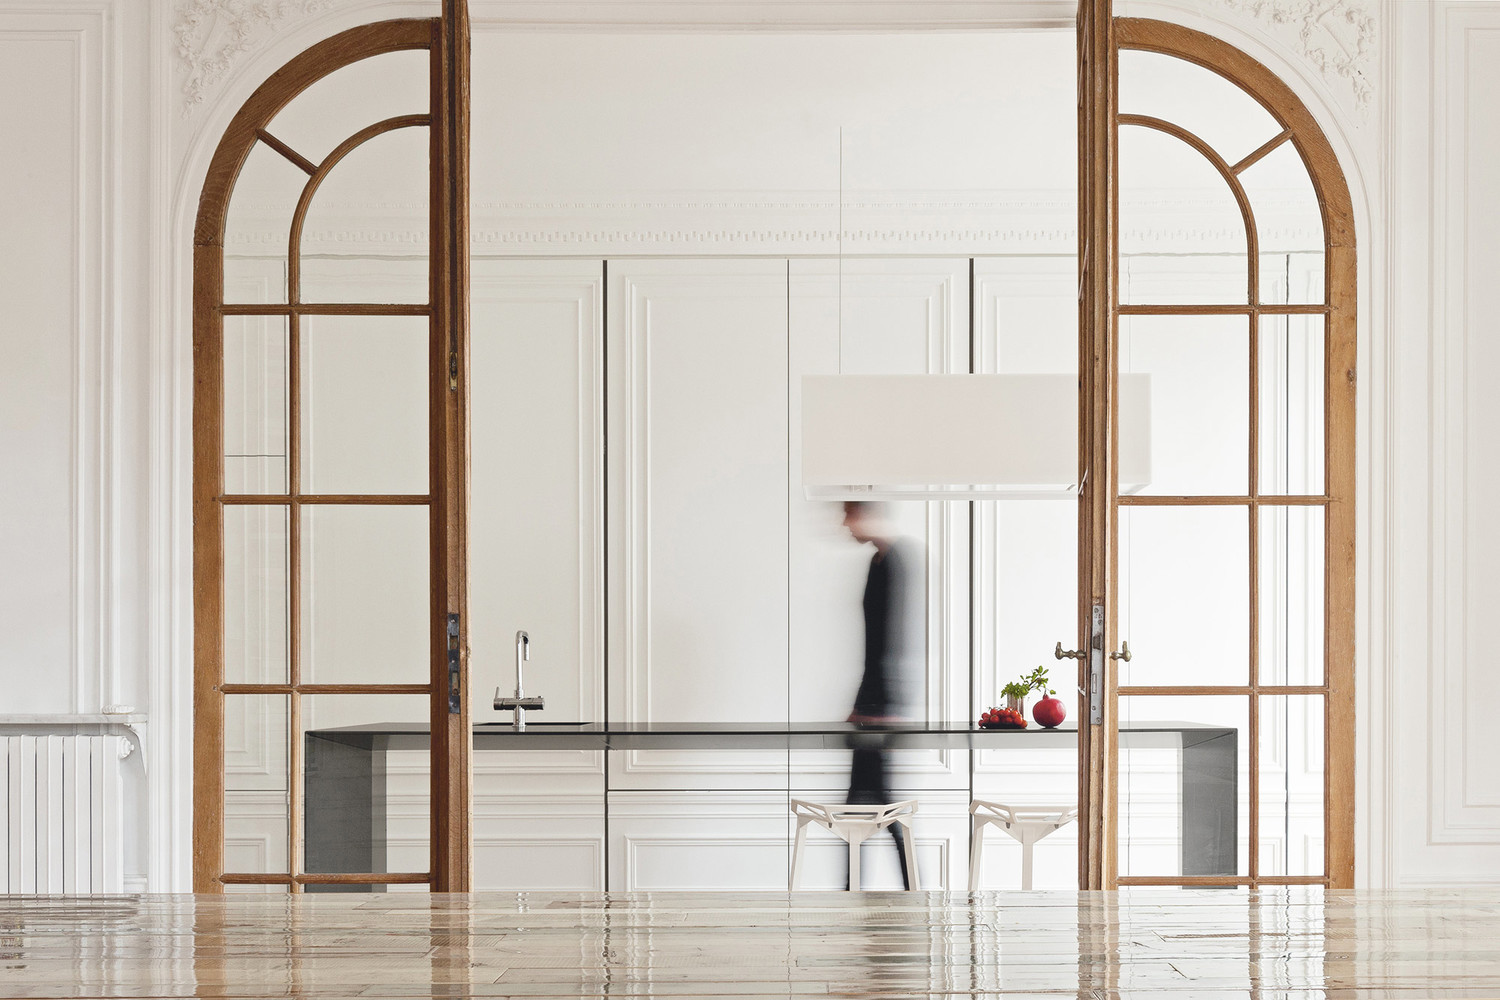
Space is a precious resource, and the Hawa Concepta and Hawa Folding Concepta quick-change artists make the best of it. Kitchens which are freely accessible or concealed, working areas which appear from nowhere and disappear again in the blink of an eye – that’s how rooms adapt to the requirements of their users in a matter of seconds. All this happens based on technology which works completely invisible and thus guarantees that in addition to the functional potential of each room concept, its aesthetic potential can also be used to full capacity.
Quick installation, prompt adjustment
Simplicity is part of the concept with Hawa Concepta III. That is already true for installation, which is almost as easy and intuitive as operation. The high degree of pre-assembly reduces the amount of work as well as the number of needed tools. All of the adjustments can be carried out in a flash via easily accessible adjustment points. Here, just like everywhere else, the fact that the input of users, as well as of architects, planners and fabricators was included directly in the development of the next Hawa Concepta generation, has a positive effect.
Installation options
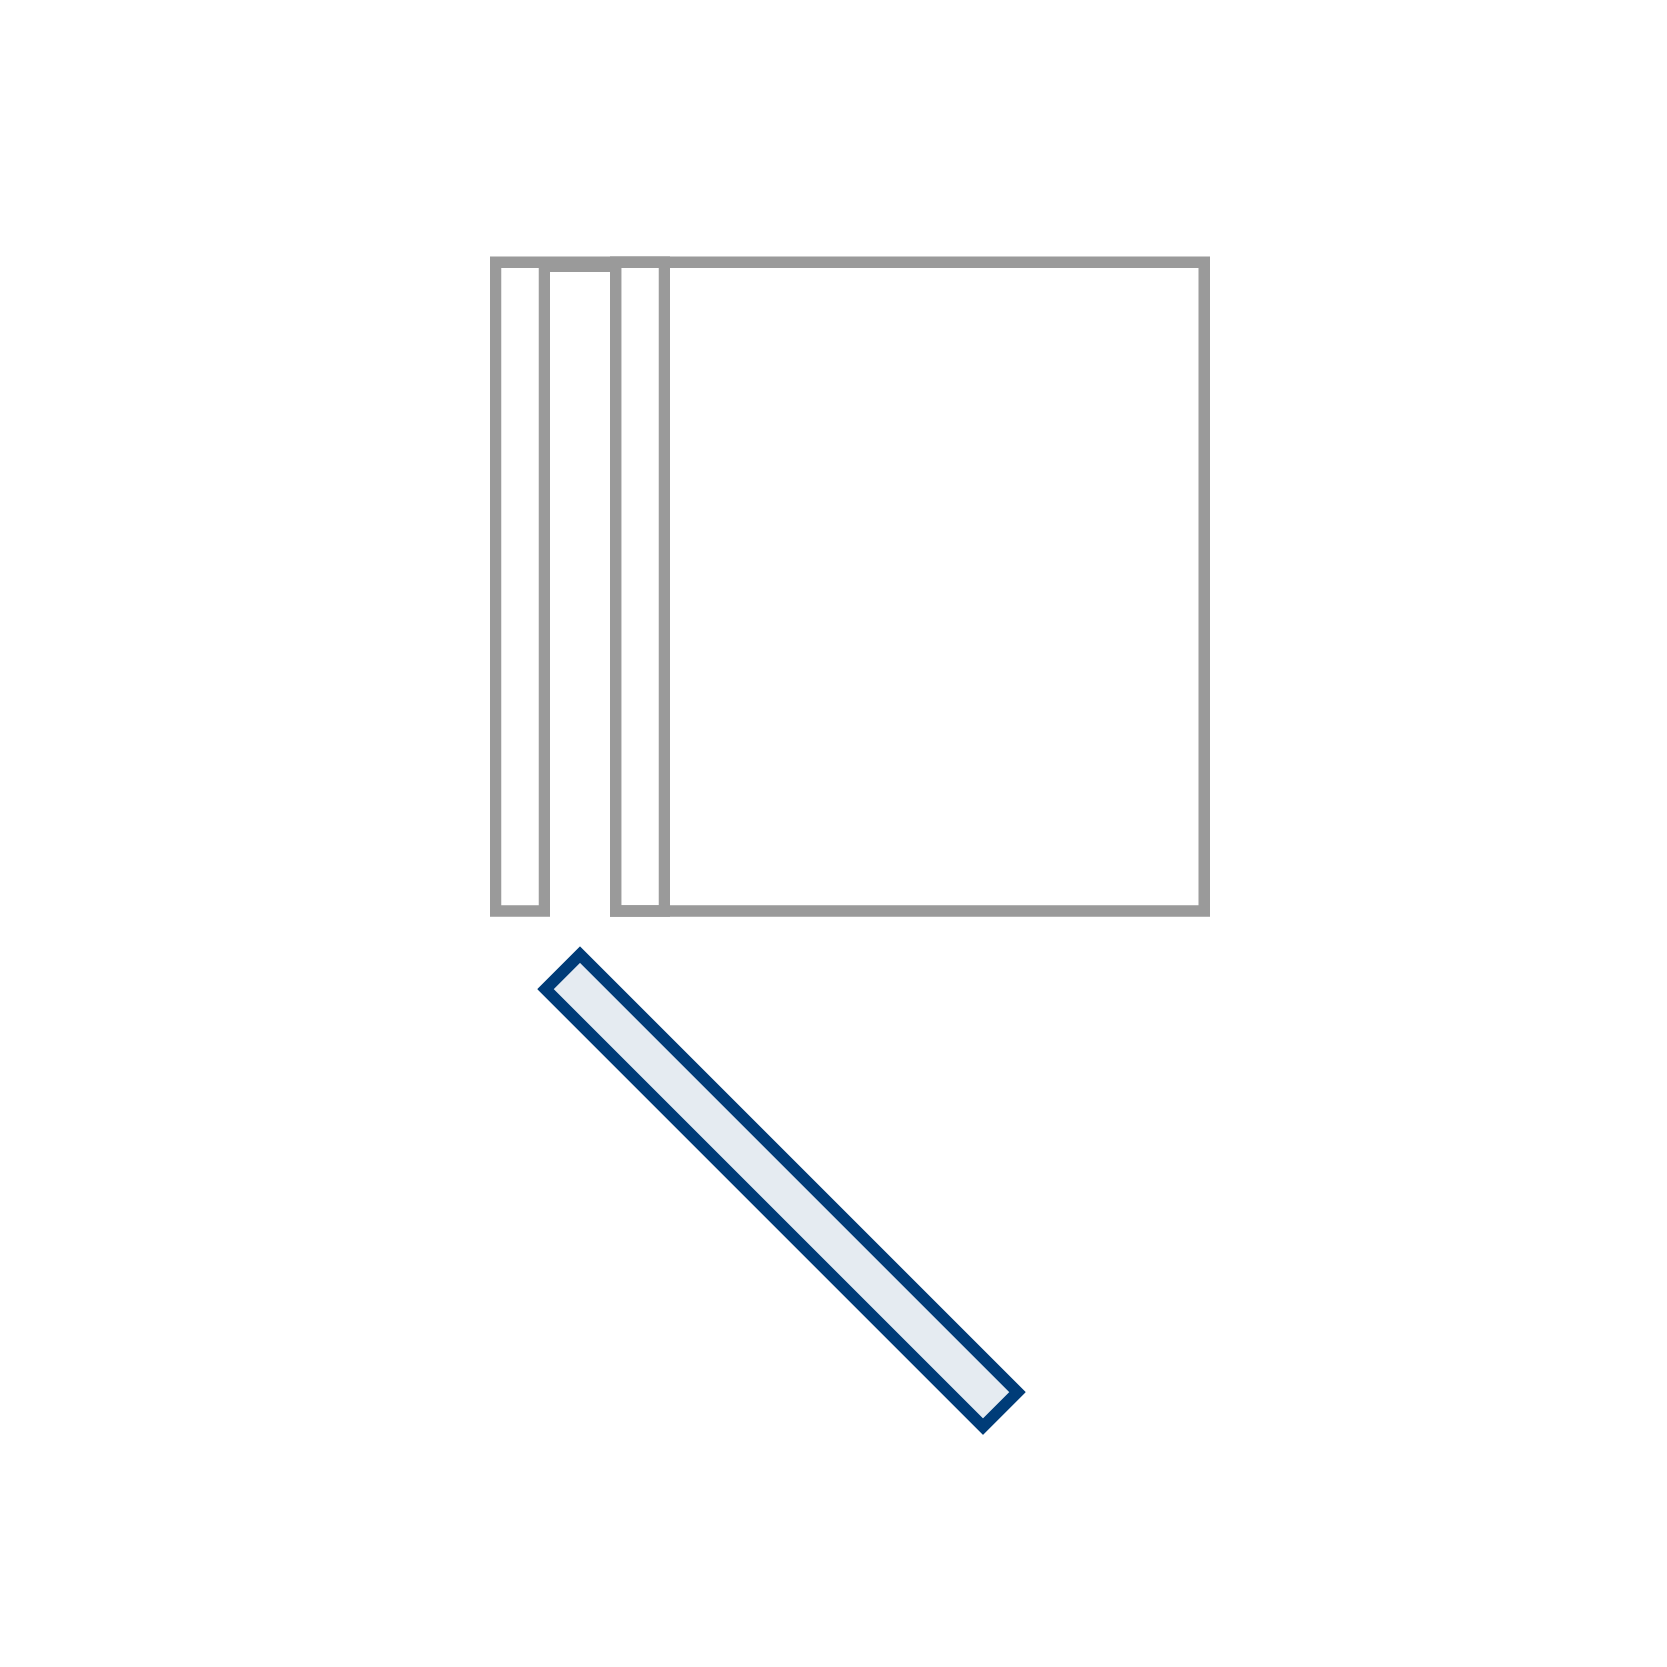
1 door, left or right
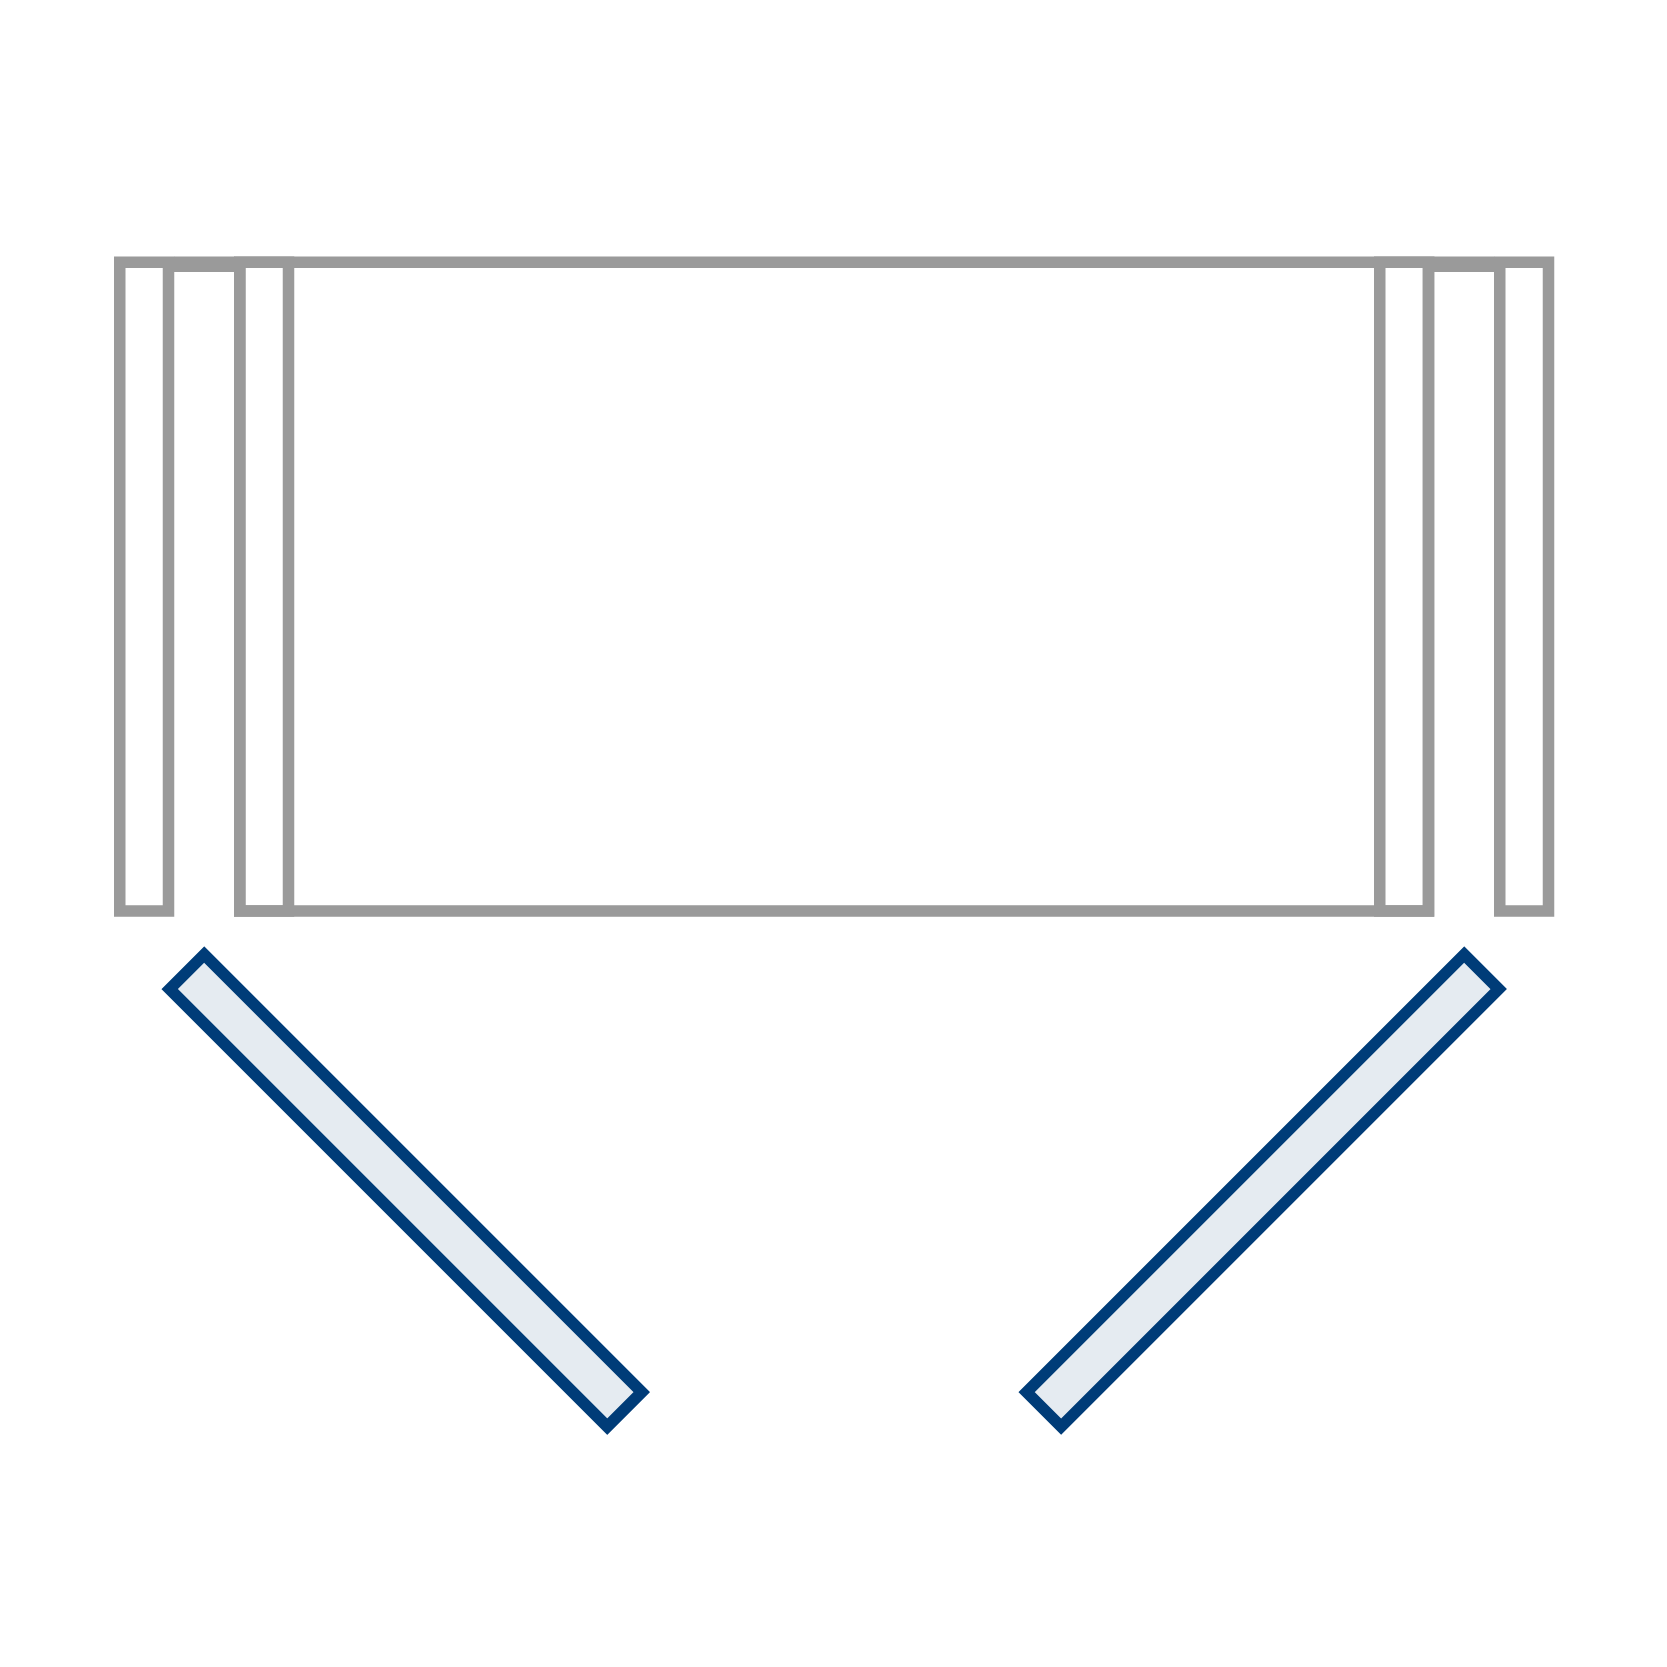
2 doors, left or right
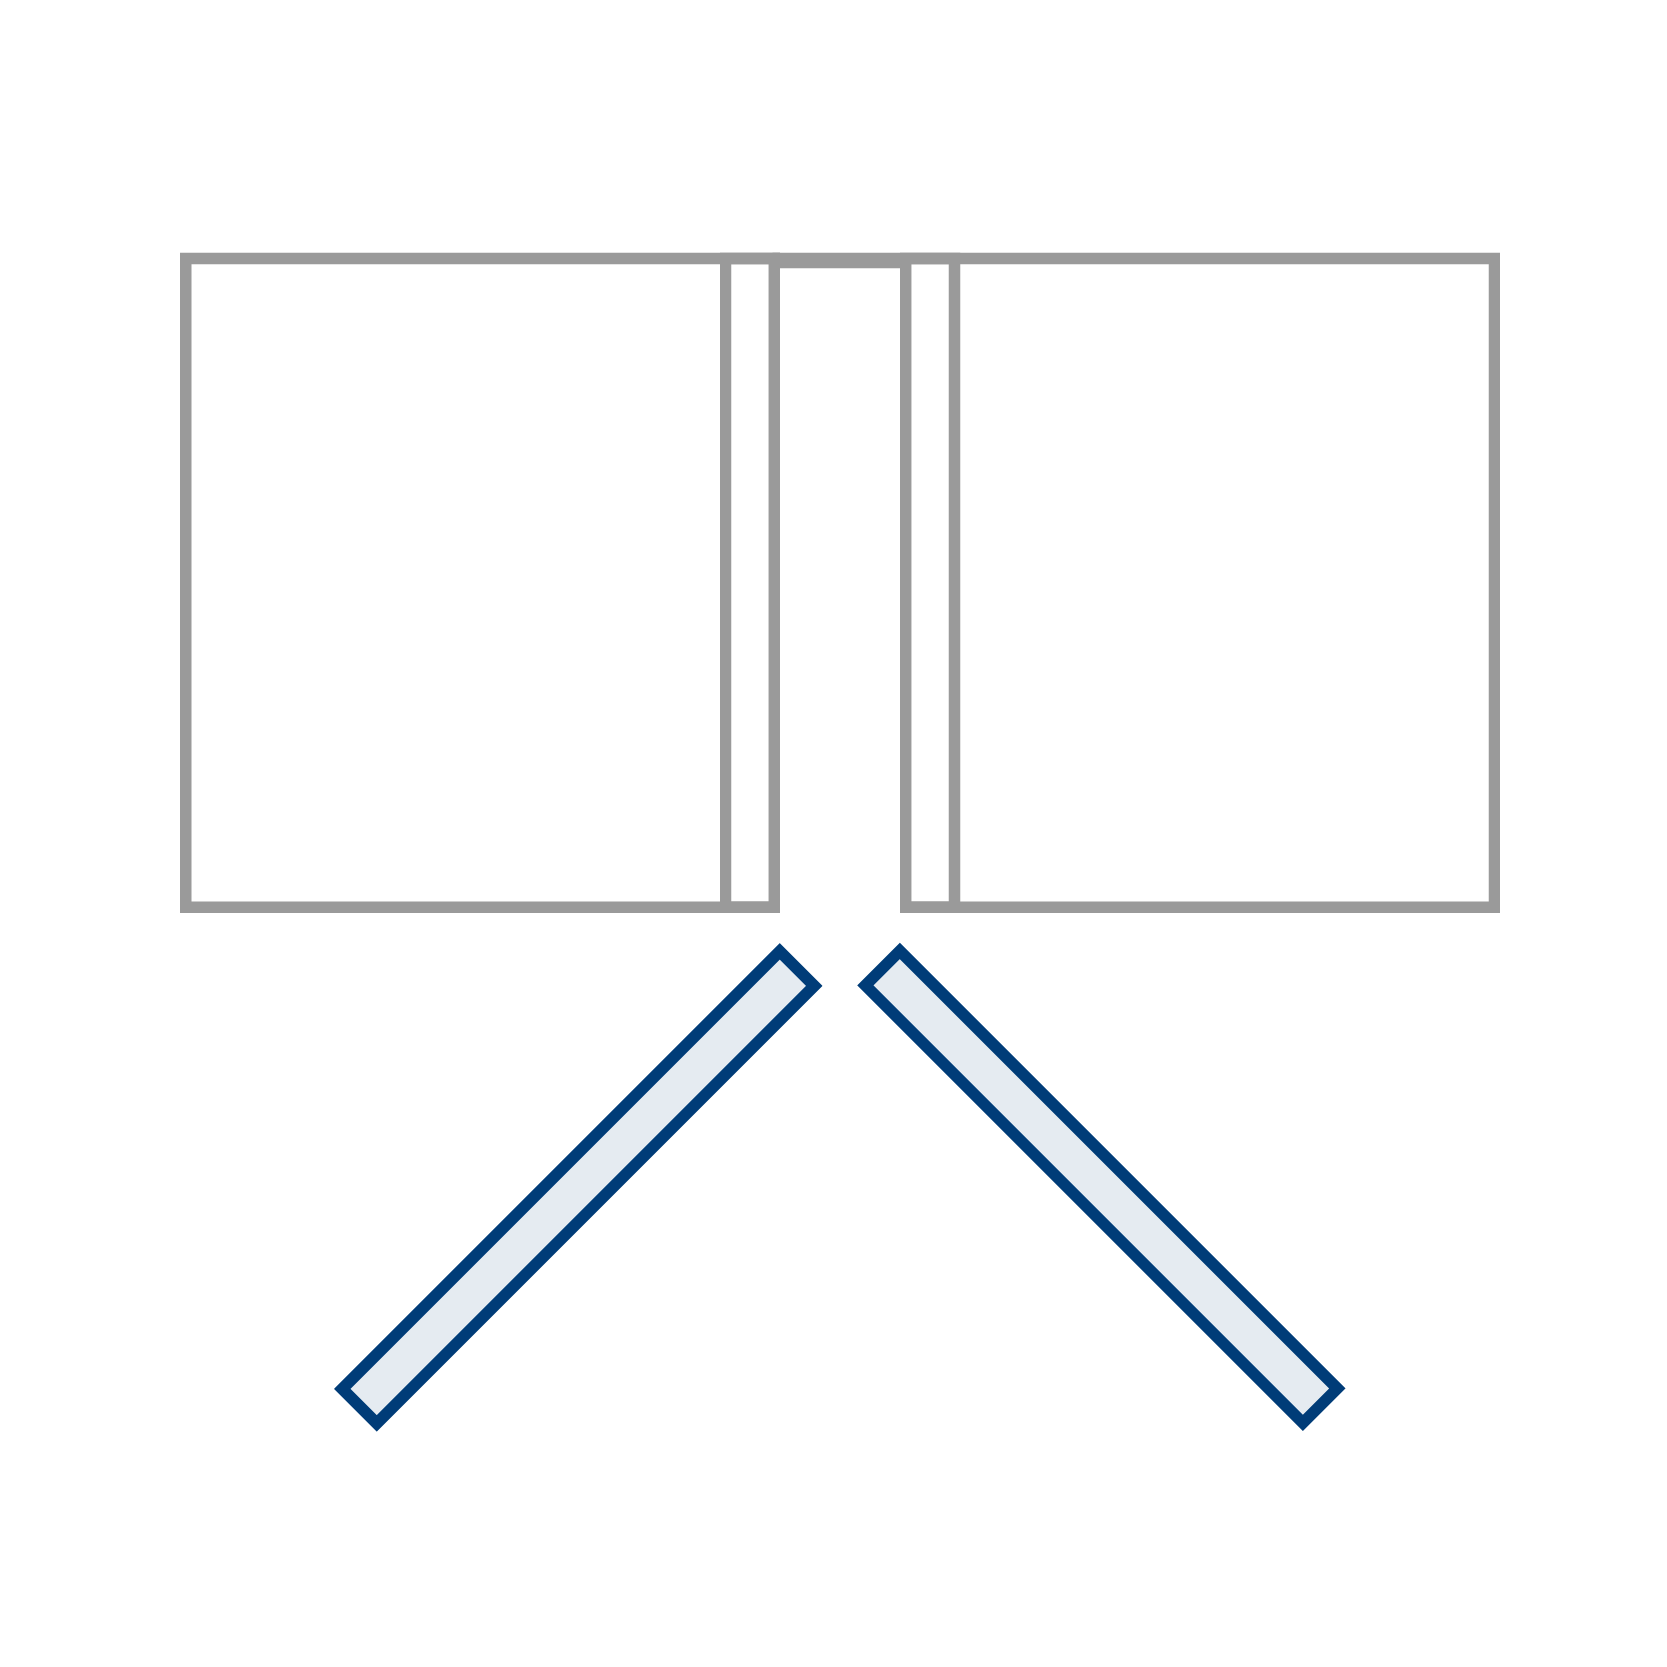
2 door, back-to-back
At a glance: the system advantages of the Hawa Concepta III
Contact request
Downloads and further information
Installation instructions
Installation instructions Connector 55
Installation on buildings and adjustment instructions
